A public server is scanned for weak logins within minutes of coming online. These steps take about 15 minutes and stop the most common attacks. They are written for Ubuntu 24.04 LTS, and they work on newer Ubuntu releases as well. The terminal pictures show example output.
Before you start, connect to your VPS with SSH as root. Keep that window open until the last step, so a typing mistake cannot lock you out.
1. Update the server
apt update && apt upgrade -y2. Create a normal user
Working as root all day is risky, because one wrong command can damage the whole system. Make a regular user that can use sudo when needed:
adduser deploy
usermod -aG sudo deploy
Choose a strong password when asked. You can leave the other questions empty.
3. Give the new user your SSH key
Copy the key you already installed for root to the new user:
rsync --archive --chown=deploy:deploy ~/.ssh /home/deployOpen a second terminal and check that ssh deploy@YOUR-SERVER-IP works with your key. Do not continue until it does.
4. Turn off root and password logins
Create a small settings file. The name starts with 00- so it is read first:
sudo nano /etc/ssh/sshd_config.d/00-hardening.confPut these lines in it:
PermitRootLogin prohibit-password
PasswordAuthentication no
KbdInteractiveAuthentication no
MaxAuthTries 3
Test the settings and reload SSH. The test command prints nothing when everything is fine:
sudo sshd -t && sudo systemctl reload ssh
sudo sshd -T | grep -E "^(permitrootlogin|passwordauthentication|maxauthtries)"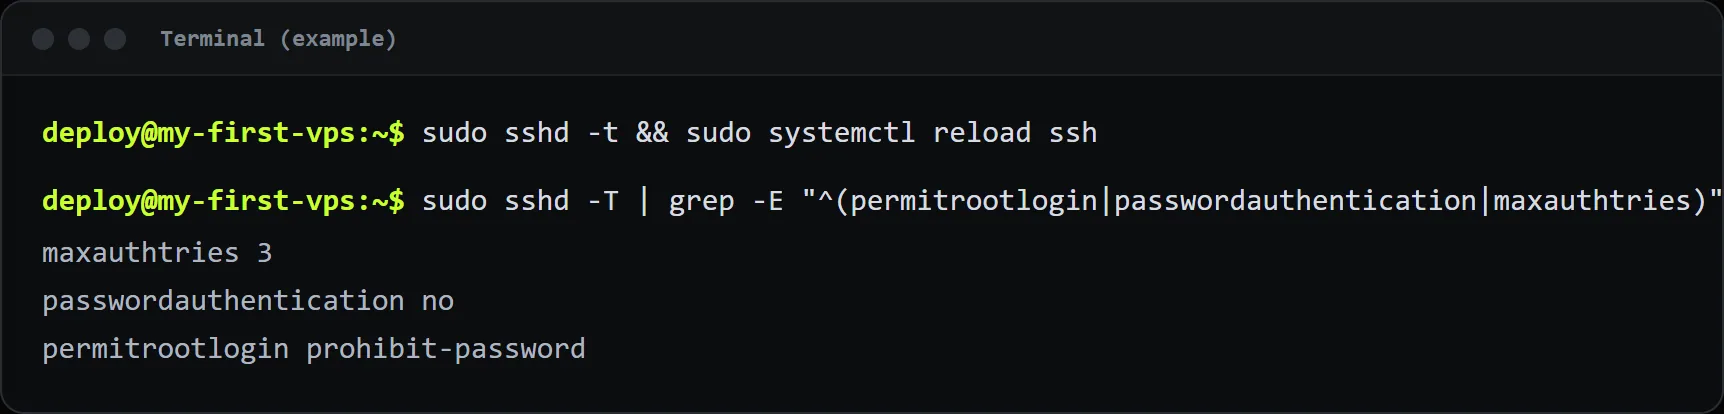
Now open a third terminal and confirm you can still log in with your key. Only then close the old windows. If you are ever locked out, the console in your hosting panel still works.
5. Turn on the firewall
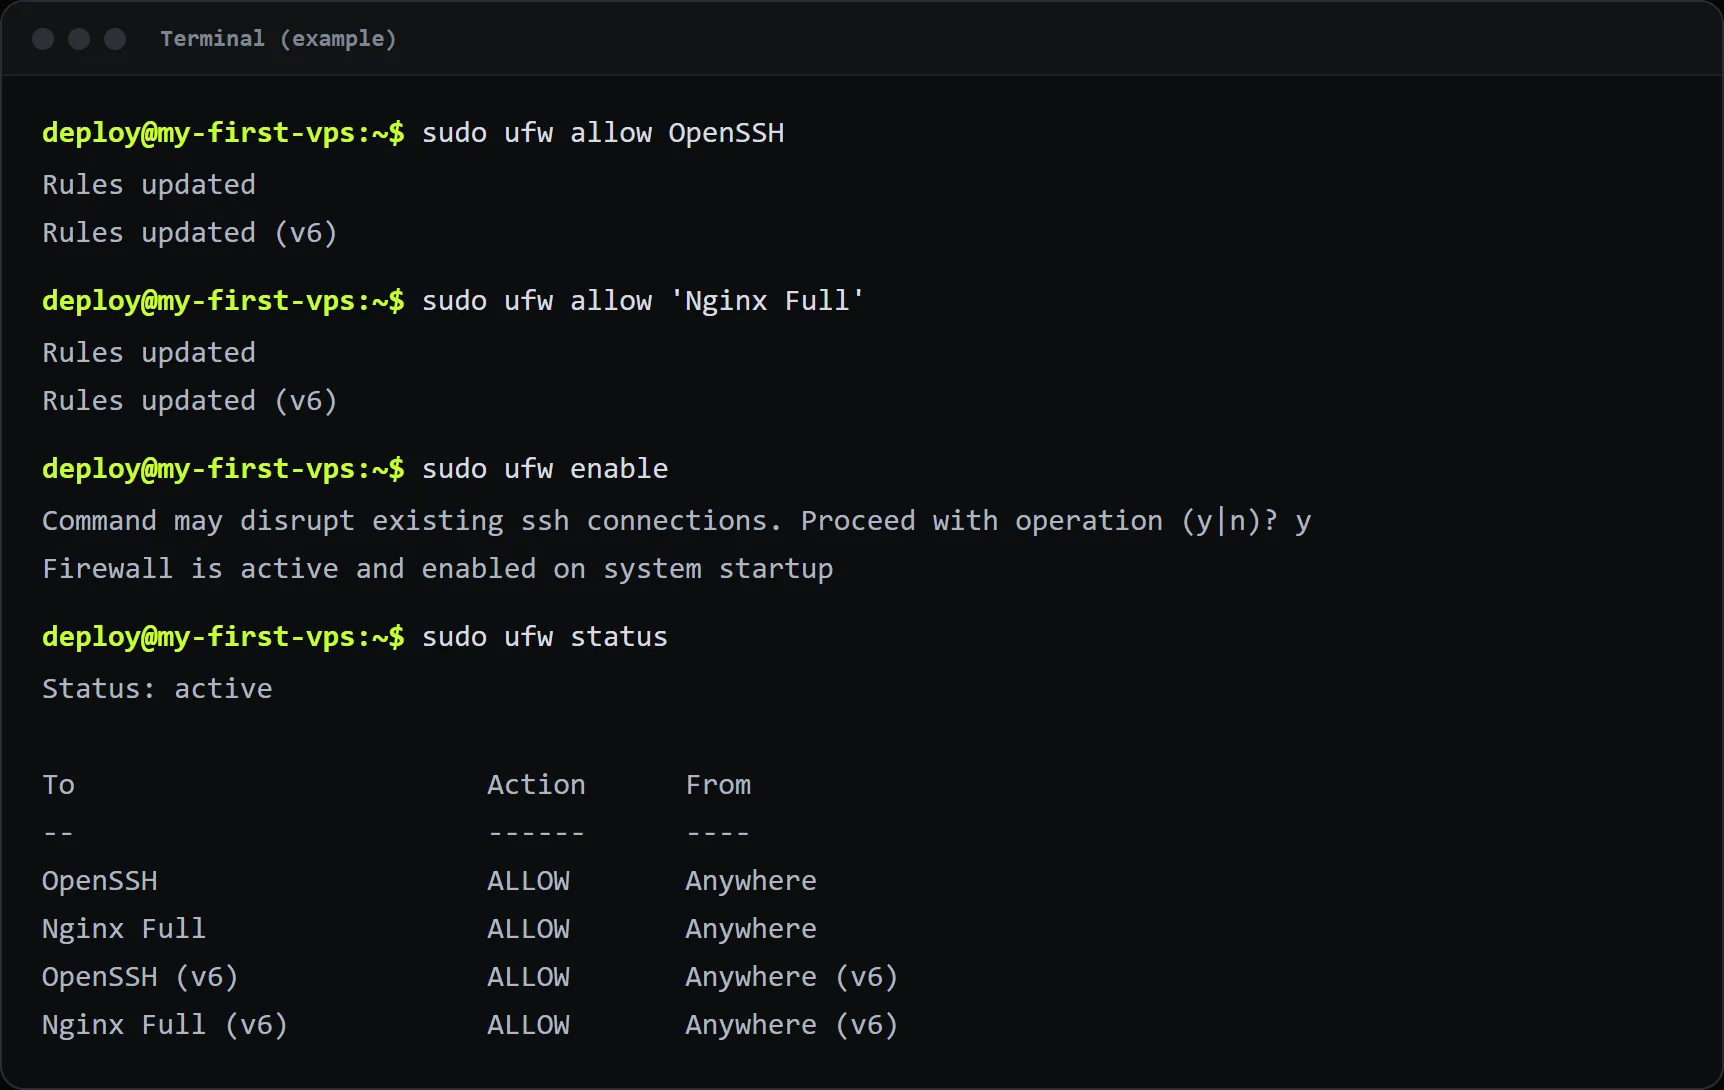
Ubuntu's simple firewall is called ufw. Allow SSH first, so you do not cut off your own connection, and then the web ports if you will run a website:
sudo ufw allow OpenSSH
sudo ufw allow 'Nginx Full'
sudo ufw enable
sudo ufw status
Nginx Full only exists after you install Nginx. If you have not yet, use sudo ufw allow 80,443/tcp instead.
6. Install fail2ban
fail2ban watches the login log and blocks any address that keeps guessing passwords.
sudo apt install -y fail2ban
sudo systemctl enable --now fail2ban
sudo fail2ban-client status sshd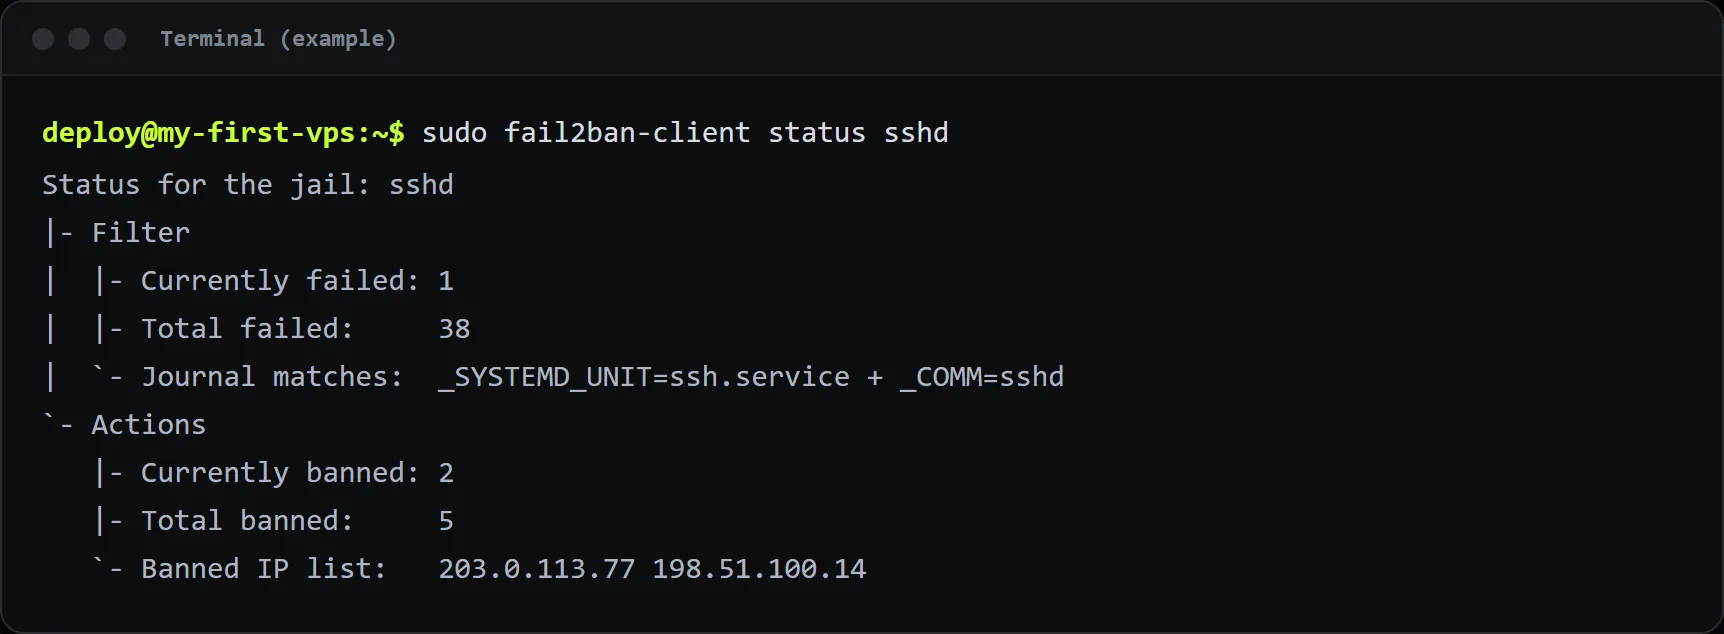
The default settings protect SSH straight away. You will often see banned addresses within a day, which shows how busy the internet is with automated attacks.
7. Install security updates automatically
sudo apt install -y unattended-upgrades
sudo dpkg-reconfigure --priority=low unattended-upgrades
Choose Yes when asked. Ubuntu now installs security fixes on its own.
Extra steps worth taking
- Save backups of anything you cannot afford to lose, and keep a copy off the server.
- Only open the ports you really use. Every open port is one more thing to keep updated.
- Keep your own account safe too: turn on two-step verification for your AtoZNode login.
If you are setting up a website next, continue with hosting a Node.js app with PM2 and Nginx.