SSH is the standard way to control a Linux server from your own computer. You type commands on your machine and they run on the VPS. This guide shows how to connect from Windows, macOS and Linux, and how to switch from a password to a safer key.
What you need
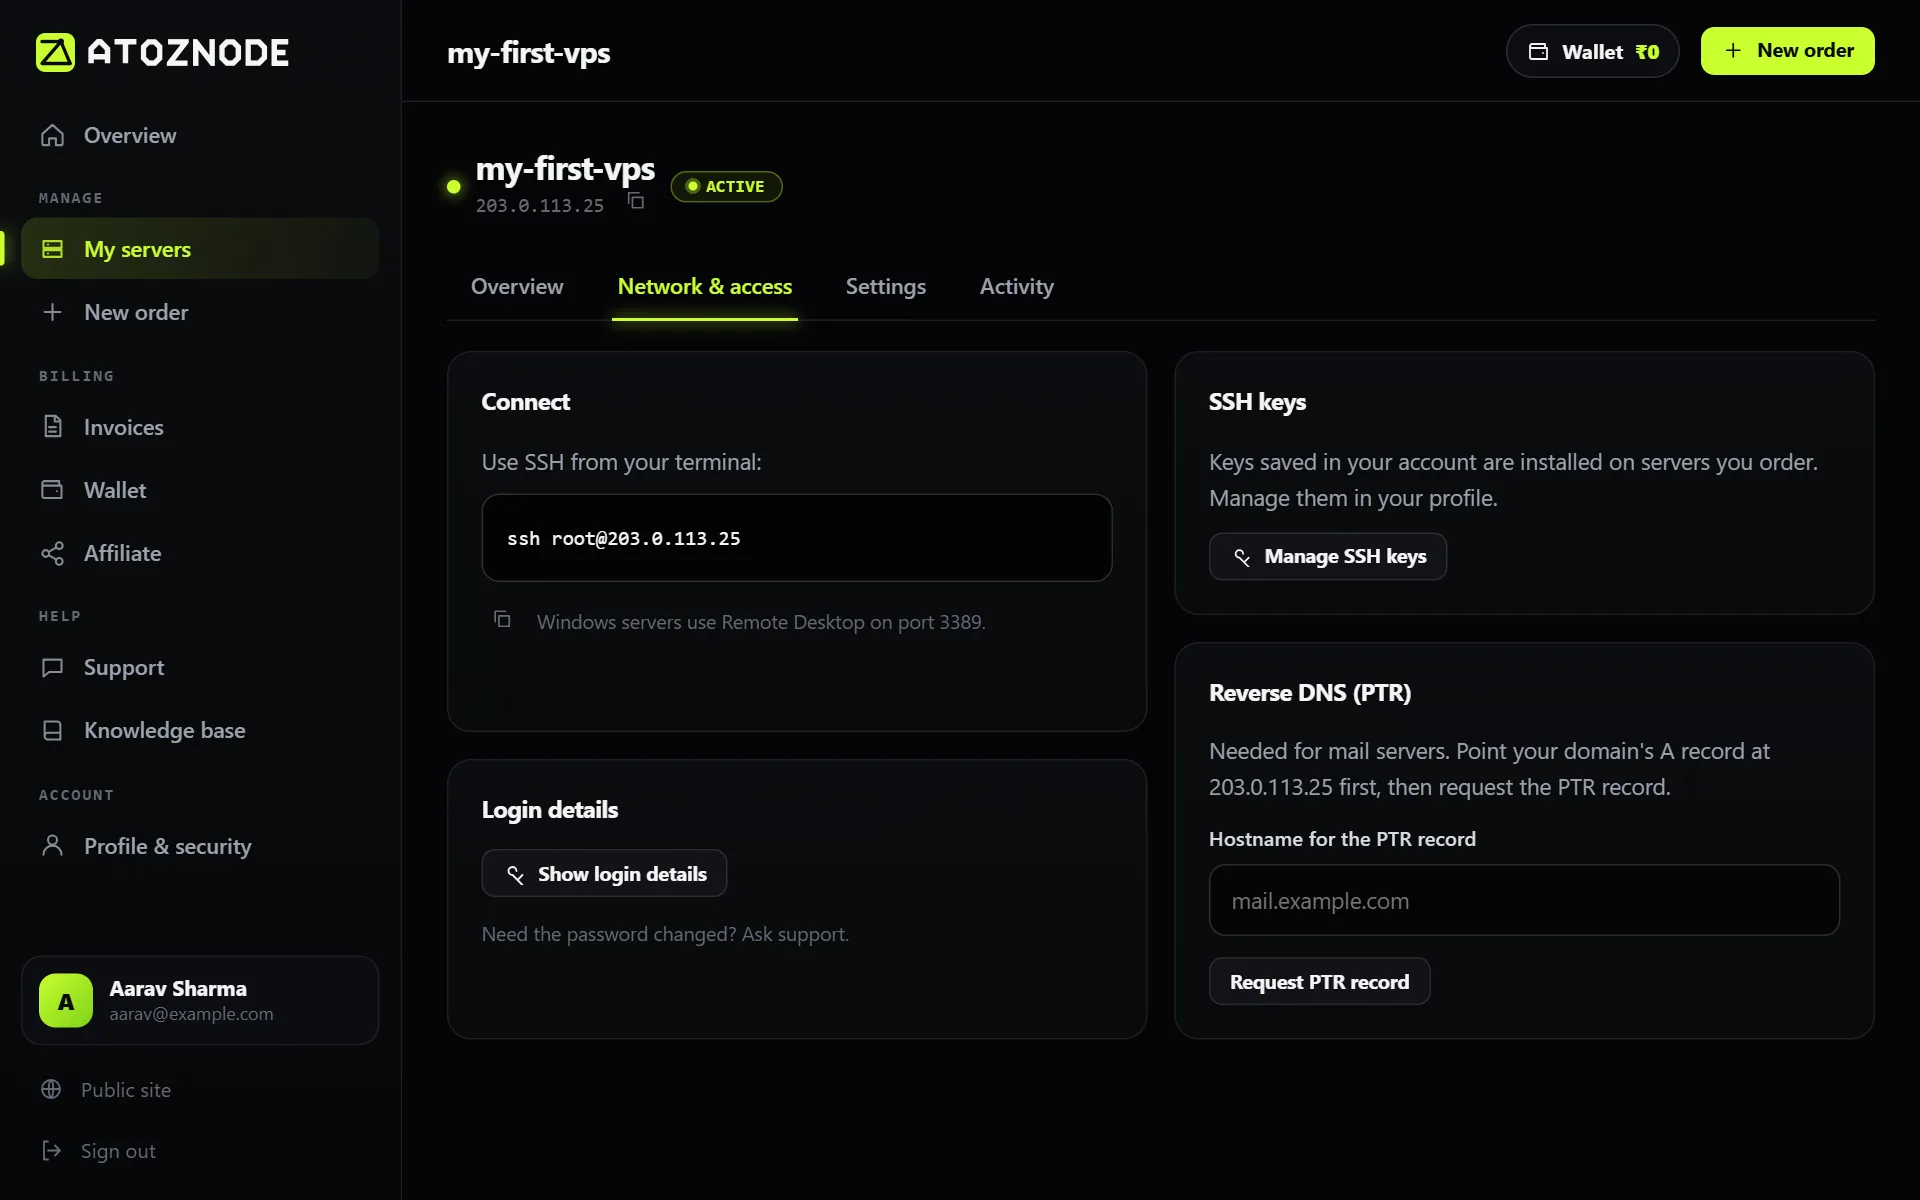
- Your server's IP address and the root password. Both are on the Network & access tab of your server page. If you have not ordered a server yet, start with how to order your first VPS.
- A terminal. Windows 10 and 11, macOS and every Linux desktop already include an SSH client.
Connect with a password (first time)
On Windows open PowerShell or Windows Terminal. On macOS open Terminal. On Linux open your terminal app. Then run the command from the panel, replacing the address with your own:
ssh root@203.0.113.25The first time you connect, SSH asks whether to trust the server. Type yes and press Enter. Then type the root password when asked. Nothing appears on screen while you type a password, and that is normal.
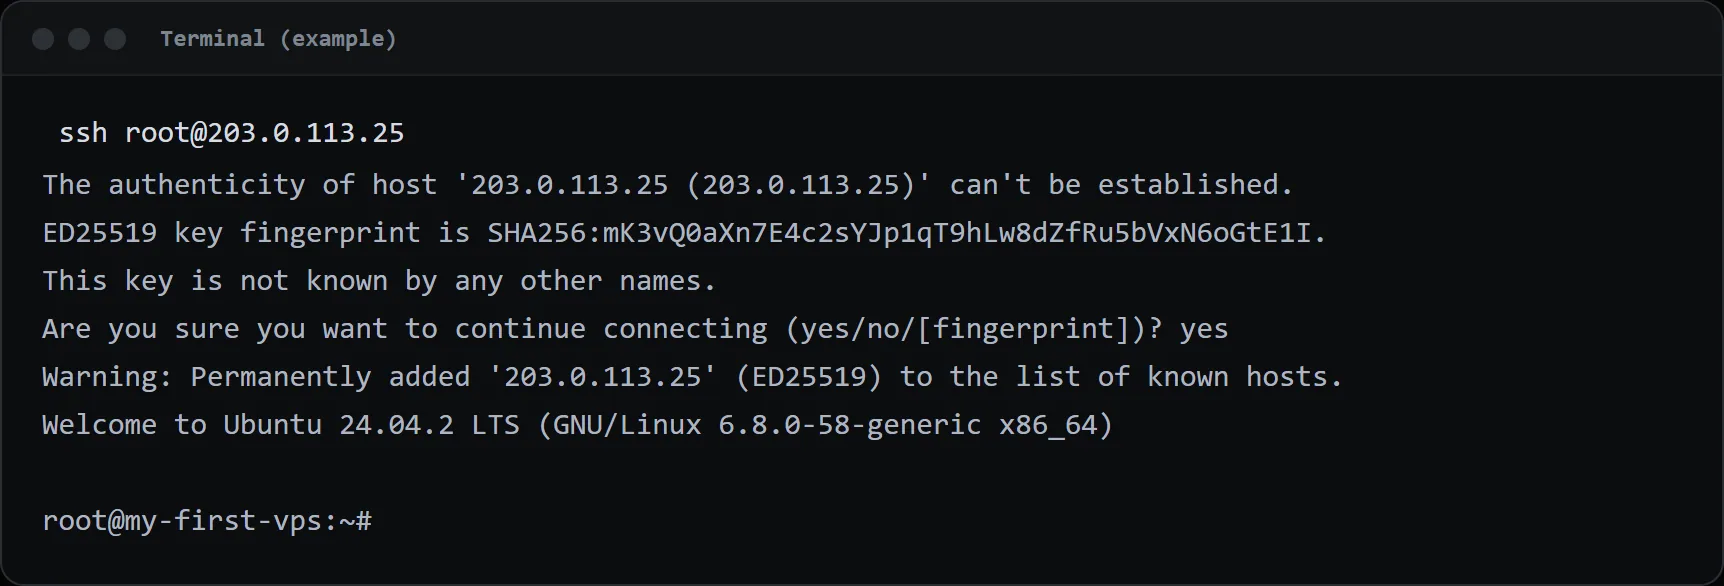
When you see a prompt that ends in #, you are logged in.
Use an SSH key instead of a password
A key is much harder to guess than a password, and it lets you turn password login off completely. You make a pair of files on your own computer: a private key that never leaves it, and a public key that you copy to the server.
- On your computer, create the key:
ssh-keygen -t ed25519 -C "you@example.com"Press Enter to accept the default location. Add a passphrase if you want extra protection.
- Copy the public key to the server. On macOS and Linux:
ssh-copy-id root@203.0.113.25On Windows PowerShell, which has no ssh-copy-id, use this instead:
type $env:USERPROFILE\.ssh\id_ed25519.pub | ssh root@203.0.113.25 "cat >> ~/.ssh/authorized_keys"- Connect again with
ssh root@203.0.113.25. It should log you in without asking for the server password.
You can also save your public key in your AtoZNode profile, and we install it on new servers you order.
Connect with PuTTY on Windows
PuTTY is a popular Windows program. It uses its own key format, so an OpenSSH key needs converting first.
- Open PuTTYgen, choose Conversions, then Import key, pick your private key file (change the file type box to All Files if you cannot see it), and click Save private key. This makes a
.ppkfile. - Open PuTTY and type your server's IP address in Host Name.
- Go to Connection, then Data and enter
rootas the auto-login username. - Go to Connection, SSH, Auth, Credentials and choose your
.ppkfile. - Go back to Session, give it a name, click Save, then Open.
Common errors and fixes
- Connection timed out: the IP address is wrong, the server is still being set up, or a firewall is blocking port 22. Check the address on your server page and wait a few minutes after ordering.
- Permission denied: the password is wrong, or password login has been turned off and your key is not on the server. Check the username is
rootand that you copied the right public key. - Host key verification failed: you rebuilt the server and it has a new identity. Remove the old line for that IP from the
known_hostsfile in your.sshfolder, then connect again. - Too many authentication failures: your SSH agent is offering many keys. Add
-o IdentitiesOnly=yes -i path/to/keyto the command.
Next steps
Right after your first login, secure your VPS: create a normal user, turn on the firewall and stop password logins. That protects the server from the constant automated login attempts every public server receives.